It’s Saturday morning, and the family SUV has finally reached the point where you can’t pretend it’s “just a little dirty” anymore.
There are cracker crumbs under the second-row seat, a dried road-salt film around the lower doors, and that gray layer on the paint that makes a dark SUV look strangely dull. This is where how to clean a car matters more than having a garage full of expensive detailing products.
The easy mistake is to grab dish soap, one old towel, and start scrubbing.
That can leave you with water spots, dirty streaks, and tiny scratches that weren’t there before. The better approach is simple: work in the right order, keep dirty tools away from clean surfaces, and use products made for the material you’re cleaning. You don’t need a professional detailing bay to get a very good result. You need a plan.
Here’s the order that saves time, protects the surfaces, and makes the final wipe-down much easier.
AI Overview: How do you clean a car properly?
To clean a car correctly, start with the inside cabin. Then clean the wheels and the outside paint. Doing it this way keeps dust from falling on wet surfaces and stops brake dust from touching your paint mitts. Use pH‑balanced car wash soap, two buckets, clean microfiber towels, and wash from top to bottom. This protects the clear coat from swirl marks and water spots.
Key Takeaways
- Clean the interior first in most full-car cleaning jobs, then move to the wheels and exterior.
- Keep your basic kit simple: two buckets, car soap, a wash mitt, several microfiber towels, a vacuum, interior cleaner, and glass cleaner.
- A sensible order is declutter → vacuum → wipe surfaces → clean glass → wheels → rinse → wash → rinse → dry → final check.
- For a normal daily driver, monthly exterior washing is a useful starting point, but road salt, heavy driving, pets, children, and outdoor parking can require more frequent cleaning. Kärcher recommends washing at least once a month.
- Don’t use dishwashing soap, bleach, abrasive cleaners, stiff brushes, or a dirty towel simply because they’re already in the house. Vehicle manufacturers give specific warnings about unsuitable cleaners.
- Consider professional detailing when the car has severe stains, heavy paint contamination, neglected leather, smoke odor, deep scratches, or paint defects that normal washing can’t correct.
What is the correct order to clean a car?
The right way to clean a car is: first, remove any trash. Then vacuum the carpets. Next, wipe the hard interior surfaces. Clean the windows. Wash the wheels using the right tools. Rinse the paint. Wash the car starting at the roof and moving down. Rinse everything well. Dry right away with clean microfiber towels so water spots don’t form.
How to Clean a Car Step by Step
- Remove trash, mats, and loose items.
- Vacuum seats, carpets, cracks, and the cargo area.
- Wipe the dashboard, doors, console, and other surfaces with an appropriate cleaner.
- Clean the interior glass and screens carefully.
- Wash the wheels and wheel areas with separate tools.
- Rinse the body to loosen dirt.
- Wash from the roof downward with car soap and a clean mitt.
- Rinse thoroughly so soap doesn’t dry on the paint.
- Dry with clean microfiber towels.
- Walk around the car and clean missed spots, glass, trim, and door jambs.
What You Need to Clean a Car at Home
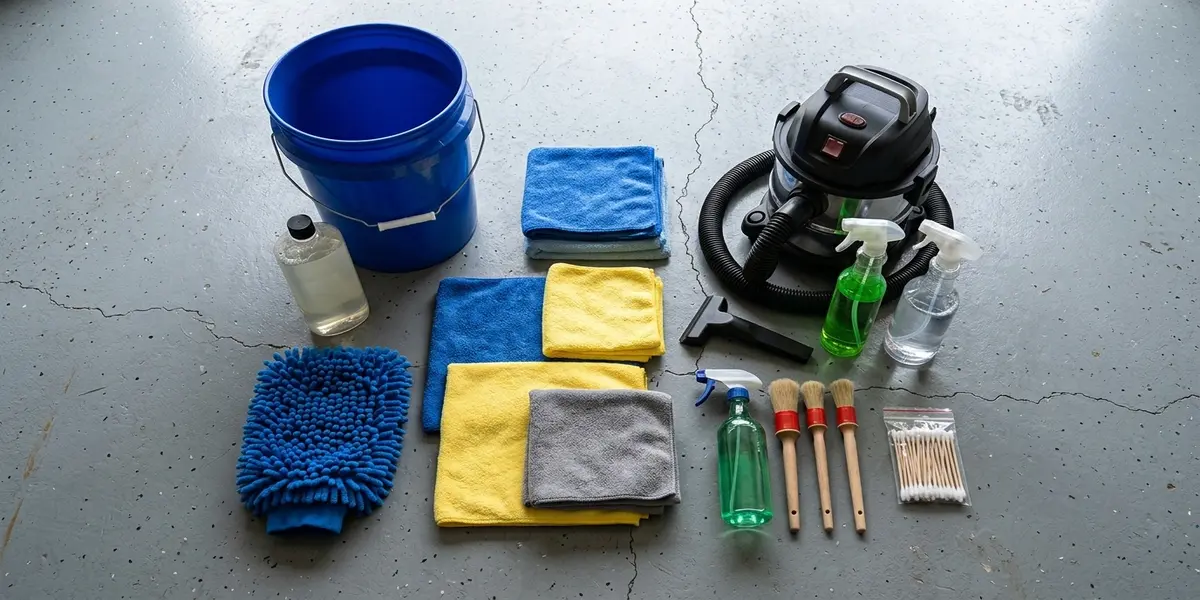
You don’t need 20 bottles lined up on the driveway. A small kit covers most routine cleaning jobs.
| Item | Why you need it | Budget version | Better version |
| Two buckets | Separates wash water from rinse water | Two clean household buckets | Detailing buckets with grit guards |
| Car soap | Removes road dirt without relying on harsh household detergent | Basic pH-balanced car wash | Premium pH-balanced wash |
| Wash mitt | Gives you a soft surface for washing paint | Microfiber mitt | Plush microfiber or chenille mitt |
| Microfiber towels | Drying and interior wiping | General microfiber towels | Dedicated plush drying and glass towels |
| Vacuum | Removes crumbs, sand and dust | Household vacuum with attachments | Wet/dry or detailing vacuum |
| Interior cleaner | Removes grime from plastic and trim | Mild manufacturer-approved cleaner | Purpose-made automotive interior cleaner |
| Glass cleaner | Removes film from windows | Non-abrasive automotive glass cleaner | Automotive glass cleaner plus dedicated glass towels |
The two-bucket method is useful because it reduces the amount of dirt you carry back onto the paint.
Leading detailing manufacturer Meguiar’s car care guide specifically recommends a two-bucket approach with pH-balanced car wash soap to separate abrasive debris from your wash mitt.
You don’t have to buy a grit guard to wash a car safely. Clean buckets, a clean mitt, plenty of rinse water, and good technique matter more than having every detailing accessory.
Should You Clean the Inside or Outside of a Car First?
For a full clean, always start inside. Vacuuming seats and carpets kicks dust into the cabin air, while wiping the dashboard displaces loose grime that inevitably settles onto freshly washed exterior paint.
If the exterior is covered in loose mud, heavy road salt, or another contaminant that needs immediate attention, rinse the exterior first so you’re not allowing aggressive dirt to sit on the paint while you work inside.
Sources differ on the exact order because there isn’t one universal rule for every cleaning situation. My rule is simpler: do the messiest dry work before the final exterior wash.
That means interior first for a normal weekend clean, followed by wheels and body.
How to Clean a Car Interior in 5 Steps
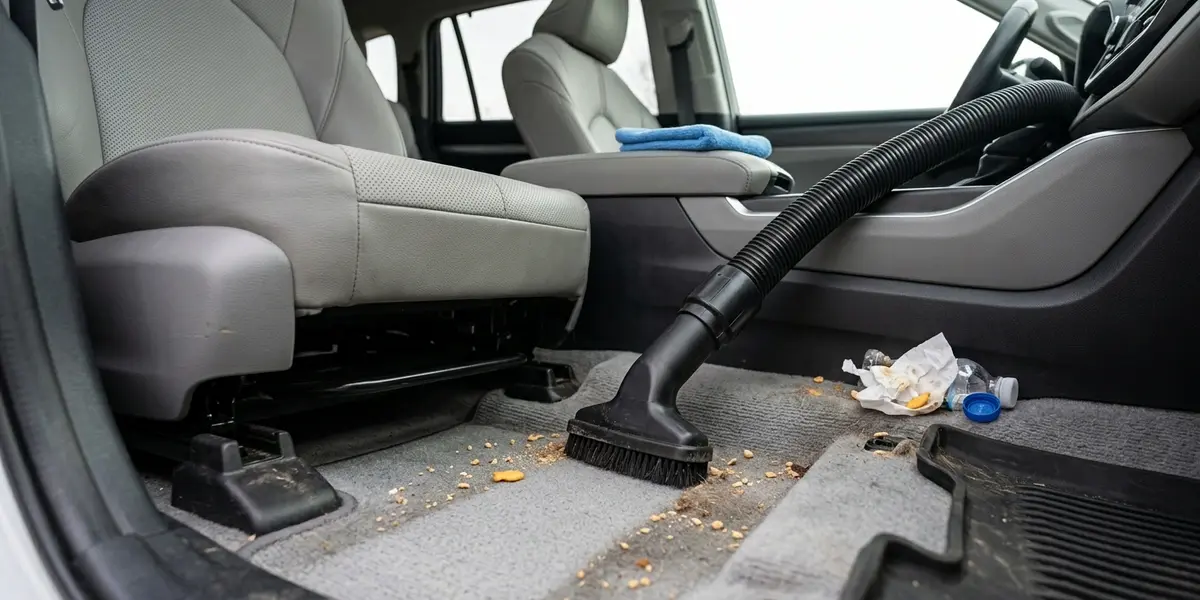
1. Empty the car
Remove bottles, wrappers, toys, chargers, floor mats, and anything else that doesn’t belong in the cabin. Open the cargo area too.
2. Vacuum from top to bottom
Start with seats and upper surfaces, then move to carpets and floor mats. Get into the gaps around the seat rails, because that’s where crumbs like to hide. Official Toyota owner care instructions recommend vacuuming loose dirt and debris before applying liquid cleaning agents to cabin materials.
3. Wipe hard surfaces
Use a lightly dampened cloth or an appropriate interior cleaner on the dashboard, doors, console, and trim. Don’t soak electrical controls. Honda similarly warns against spilling liquids inside the vehicle and recommends mild cleaning methods appropriate to the material.
4. Clean the glass
Use a suitable glass cleaner and a clean microfiber towel. Keep liquid away from cameras, sensors, switches, and other sensitive components. Some newer vehicles have cameras behind the windshield. Toyota specifically warns against allowing glass cleaner to contact certain camera lenses.
5. Finish the floor and mats
Clean the mats separately, then return them only after they’re properly dry. Avoid soaking the vehicle’s carpet or floor unnecessarily. For a complete interior process, see How to Clean a Car Interior.
How to Clean a Car Exterior in 6 Steps
1. Choose the right conditions
Work in shade when possible and let the body cool down. Kärcher warns against washing in the midday sun because cleaning products can dry too quickly.
2. Rinse first
Use plenty of water to loosen loose dirt before touching the paint with a mitt. This reduces the amount of grit you’re physically dragging across the surface.
3. Clean the wheels separately
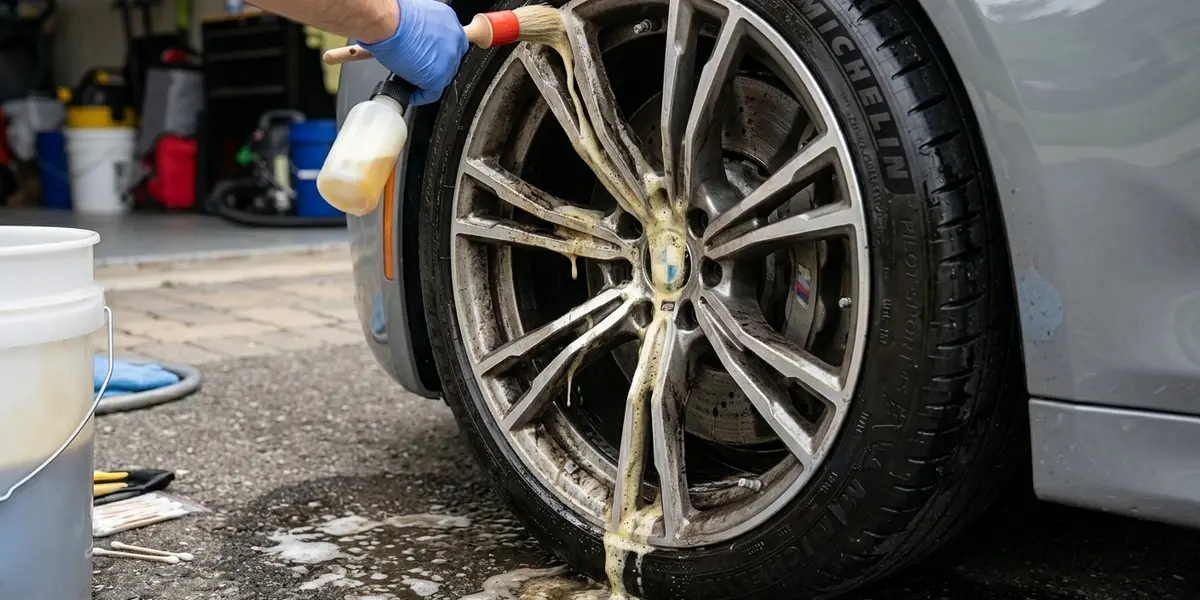
Wheels collect brake dust, road grime, and other contaminants that you don’t want in your paint-washing tools. Use a separate mitt, brush, or towel for wheels.
4. Wash from the top down
Start with the roof and upper glass, then move down the body panels. The lower panels are usually carrying more dirt, so they should be cleaned later. 3M’s vehicle-preparation guidance also emphasizes clean, lint-free microfiber materials and replacing cloths when they become dirty.
5. Rinse thoroughly
Don’t let soap dry on the vehicle. Pay attention to mirrors, trim, grilles, badges, and panel gaps.
6. Dry without grinding dirt into the paint
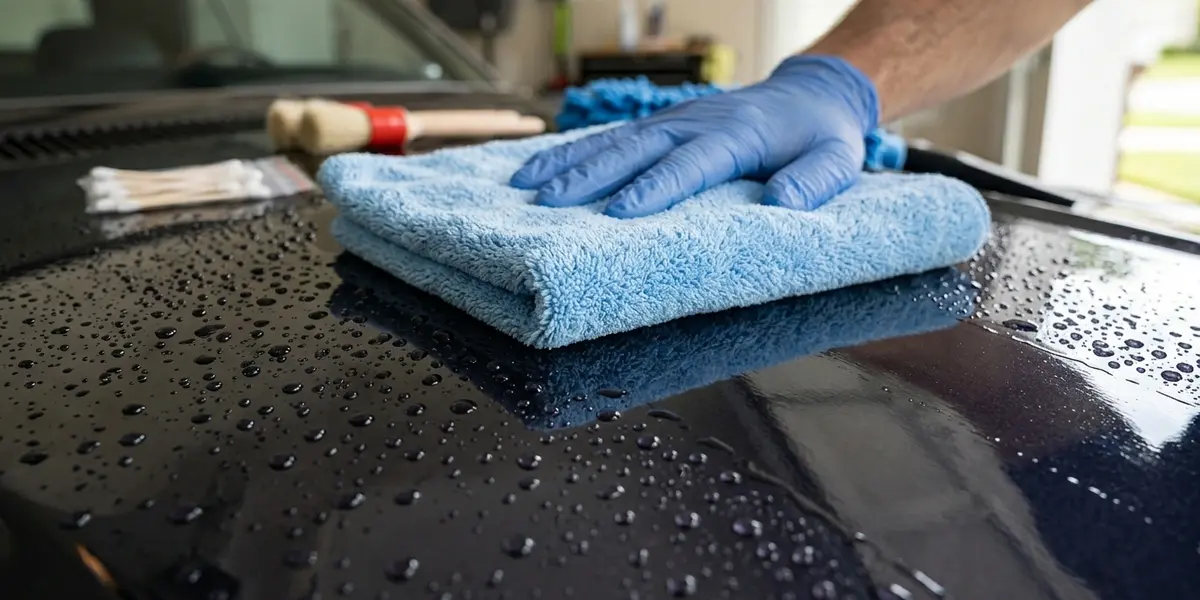
Use clean microfiber towels and gentle pressure. If a towel becomes visibly dirty, change it rather than continuing to drag that dirt across another panel.
For the full process, see How to Clean a Car Exterior.
How Often Should You Clean a Car?
Maintenance schedules vary based on driving conditions, but washing your vehicle at least once a month serves as an effective baseline. Equipment manufacturer Kärcher recommends more frequent cleaning when paint is exposed to road salt, grit, pollen, or bird droppings.
| Situation | Practical cleaning schedule |
| Daily commute | Exterior about every 2–4 weeks |
| Family with kids | Interior weekly; full clean every 2–4 weeks |
| Pets | Vacuum weekly; deeper interior clean monthly |
| Winter road salt | Wash whenever significant salt builds up |
| Garage-kept car | About monthly, adjusted for actual dirt |
| Rarely driven car | Inspect before washing; don’t clean on a calendar alone |
An SUV usually needs a little more attention simply because there’s more surface area, more glass, more trim, and often a larger cargo area. Don’t wait for a monthly date if bird droppings, road salt, tree sap, or heavy mud are sitting on the vehicle. Remove harmful contamination sooner.
Essential Car Care: Avoiding Common Paint Mistakes
Using household dishwashing soap is one of the quickest ways to degrade your vehicle’s exterior finish. Dish detergents are specifically formulated to strip kitchen grease, meaning they strip away protective wax and accelerate clear-coat oxidation. Official Honda owner manuals explicitly warn drivers against using laundry detergents or degreasing dish soaps on exterior paintwork.
Relying on a single towel across multiple vehicle surfaces introduces deep scratches into your clear coat. Microfiber towels used on wheels collect hard metallic brake dust particles that turn into sandpaper when dragged across door panels. Maintaining dedicated towels for wheels, exterior bodywork, interior trim, and glass ensures dirty grit never touches clean paint.
Car Cleaning Mistakes That Damage Paint and Trim
Using dish soap
Dishwashing products are formulated to strip kitchen grease, which means they easily strip protective automotive wax and dry out clear coats. Official Honda owner guidance warns against using household detergents or dishwashing soaps with degreasers on vehicle paint.
Using one dirty towel
A towel that cleaned the wheels shouldn’t suddenly become your paint towel. Dirt trapped in the fibers can create scratches. Keep separate towels for wheels, paint, glass, and interior surfaces.
Washing in direct, hot sun
Heat makes water and cleaning products dry faster. That can leave spots and make the job harder. Kärcher recommends avoiding the midday sun for this reason.
Assuming ammonia is always bad for window tint
This one needs a correction to the usual internet advice.
Tint manufacturers don’t all give identical instructions. Official 3M window film care instructions state that certain cured films can be safely maintained using non-abrasive, neutral glass cleaners. Its newer care guide recommends pH-neutral, non-abrasive cleaners.
So don’t guess. Check the film manufacturer’s instructions, especially if the tint was installed recently.
Using bleach on seats
Bleach and harsh chemicals can discolor or damage interior materials. Toyota specifically lists bleach among products that should not be used on certain interior surfaces. Use a cleaner appropriate for the material instead.
Scrubbing screens with paper towels
Modern displays can scratch or develop surface damage from inappropriate cleaning methods. Use the vehicle manufacturer’s guidance and a clean, soft cloth. Keep liquid away from the edges and controls.
Cleaning a Big SUV or Truck
A large SUV changes the job more than you might expect. The roof is harder to reach. The third row collects forgotten wrappers. Cargo trim sees muddy shoes. A pickup adds an entire bed and wheel-well area to the cleaning list.
Start with the roof. If you need a stable step stool, use one designed for secure footing rather than standing on a tire or improvising with a bucket. Work around the roof carefully so you don’t lean heavily against panels or glass.
For three-row SUVs, slide the second-row seats forward and vacuum the areas underneath. The space beneath the third row and around cargo trim can hold a surprising amount of sand.
Pickup owners should also clean the bed liner and tailgate seams. Mud can remain trapped around hinges and drain areas even when the visible floor looks clean.
Wheel wells deserve separate attention too. You don’t need to make them spotless every weekend, but removing packed mud and road salt helps prevent grime from staying trapped in hidden areas and don’t forget the top edge of the liftgate or tailgate. It’s one of those places you only notice after opening it with a clean shirt.
Practical Application: Your 60-Minute Cleaning Plan
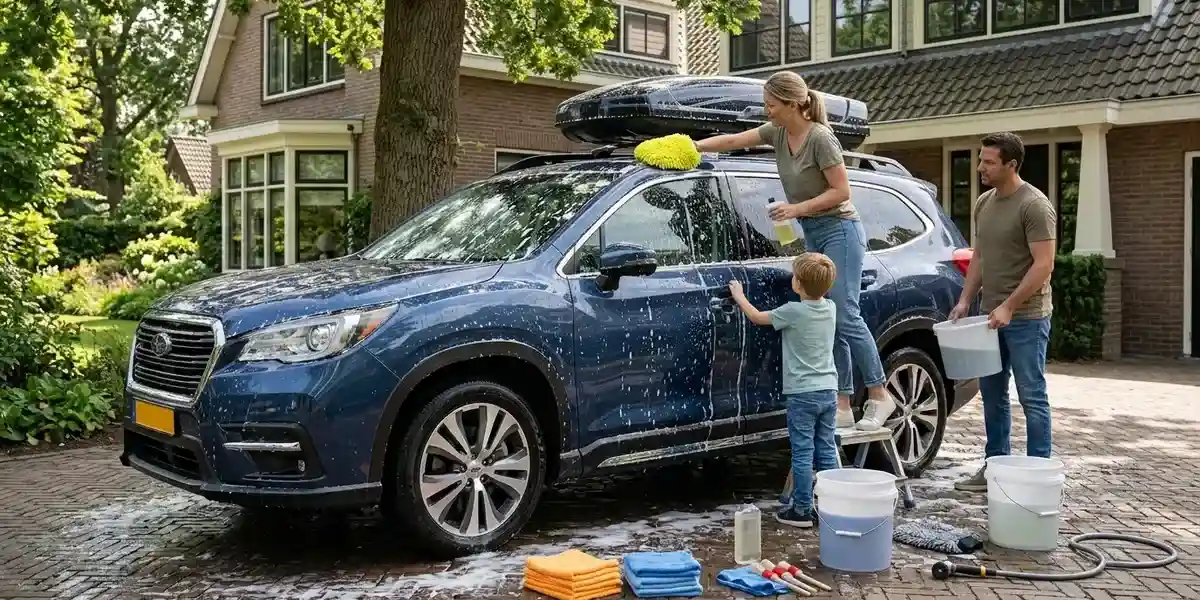
If the car is reasonably dirty rather than neglected for six months, you can make a lot of progress in one hour.
| Time | Job | What to do |
| 0–10 minutes | Declutter | Remove trash, child seats if appropriate, mats, bottles and loose items |
| 10–25 minutes | Vacuum | Seats, carpets, mats, cargo area and gaps |
| 25–35 minutes | Interior wipe-down | Dashboard, doors, console and high-touch surfaces |
| 35–42 minutes | Glass | Interior glass and mirrors |
| 42–48 minutes | Wheels | Clean wheels and tires with separate tools |
| 48–55 minutes | Exterior wash | Rinse and wash roof downward |
| 55–60 minutes | Dry and inspect | Dry glass and paint, then check for missed areas |
This isn’t a full professional detail.
It’s a maintenance clean. If the seats need stain extraction, the paint needs clay treatment, or the vehicle has years of contamination, give yourself more time. Trying to force a neglected vehicle into a 60-minute routine usually means rushing the exact surfaces that need the most care.
For paint that’s heavily contaminated, don’t automatically start scrubbing harder. 3M’s vehicle-preparation guidance treats difficult contaminants such as tar and tree sap as a separate removal stage rather than simply increasing pressure during a normal wash.
What About Water Spots?
Drying matters because water left on the surface can evaporate and leave mineral deposits behind. The easiest prevention is to dry the vehicle after washing rather than allowing it to sit wet in strong sunlight.
If you already have stubborn water spots, don’t immediately reach for an aggressive polish. The correct treatment depends on the severity, paint type, coating, and contamination.
For a newer car, coated vehicle, or delicate finish, check the product or coating manufacturer’s maintenance instructions first.
When Should You Pay a Professional?
A normal dirty car is a DIY job. A badly neglected car can be different.
Professional detailing becomes more worthwhile when you have deep stains, heavy pet hair, smoke odor, severe paint contamination, scratches, oxidation, neglected leather, or a vehicle that needs paint correction.
The same applies when you’re preparing a vehicle for sale and the appearance will materially affect how buyers see it. Don’t pay for a full detail just because the car is dusty. But don’t expect ordinary soap and a vacuum to repair damaged paint either.
Cleaning removes dirt. It doesn’t magically repair clear-coat failure, deep scratches, torn upholstery, or damaged trim.
Ownership Note
Keeping the car clean is one part of basic ownership. Knowing what to do when something goes wrong is another.
If you’re building a simple car-maintenance routine, read How to Change a Tire Safely next. A clean vehicle is nice. Knowing how to deal with a flat tire when you’re standing beside the road is much more useful.
Conclusion
That family SUV from Saturday morning wasn’t ruined. It was just overdue.
The cracker crumbs came out with a vacuum. The gray film disappeared after a proper wash. The dried road salt needed a little more attention around the lower doors, but there was no reason to attack it with a stiff brush or harsh household cleaner.
The surprising part wasn’t how much equipment the job required.
It was how much easier the cleaning became once the order was right.
Interior first. Wheels separately. Paint from top to bottom. Clean towels for clean surfaces. Dry before the water disappears on its own.
That basic sequence does most of the work.
You don’t need a shelf full of detailing products to keep a car looking cared for. You need the right products for the surfaces, enough clean microfiber, and the patience to stop rubbing when something needs a different solution.
Next Saturday, start with the crumbs.
They’ve probably been there long enough.
Frequently Asked Questions
1. How do I clean my car?
Remove clutter, vacuum the interior, wipe the surfaces, clean the wheels, then wash and dry the exterior from top to bottom.
2. How long does it take to clean a car?
A basic clean can take about 60 minutes. A very dirty car or large SUV may take several hours.
3. What’s the first thing to clean in a car?
Start by removing everything from the interior, then vacuum and wipe the cabin before washing the exterior.
4. How often should I clean my car?
A monthly exterior wash is a good starting point, but wash more often if you drive daily or deal with salt, mud, pets, or children.
5. Can I clean my car with dish soap?
It’s better to use car wash soap. Dish soap isn’t designed for routine automotive paint care.
6. What is the best way to clean a car at home?
Use the right order: interior first, wheels separately, then wash the exterior from the roof downward and dry it with clean microfiber towels.
7. Should I wash or vacuum first?
Vacuum first for a full clean. Interior dust and debris can fall onto the exterior, so save the final car wash for later.
8. How much does it cost to clean a car?
A basic DIY clean can be inexpensive if you already have a vacuum and buckets. Professional detailing costs more depending on the car and services needed.
9. How do I clean a very dirty car?
Rinse away loose dirt first, then use cleaners made for each surface. Don’t scrub harder just because the dirt is stubborn.
10. Is it okay to clean a car in the sun?
You can, but shade is better. Heat makes water and cleaning products dry quickly, which can leave streaks and spots.
11. Can I use household cleaners inside my car?
Don’t assume they’re safe for automotive materials. Use products recommended for the specific surface or follow the owner’s manual.
12. Do I really need two buckets to wash a car?
No, but two buckets help keep dirt away from your wash mitt and reduce the chance of dragging grit across the paint.
13. Why should I use microfiber towels?
Clean microfiber towels are soft and absorbent, making them useful for drying, glass, paint, and interior surfaces.
14. Should I dry my car after washing it?
Yes. Drying removes leftover water and helps prevent mineral deposits and water spots.
15. Can I use a pressure washer to clean my car?
Yes, if you use it carefully and keep the spray at a safe distance. Avoid blasting seals, trim, tires, or damaged paint.