On a Saturday morning, with a bucket of soapy water, and an hour later, your car finally looks clean. Then the sun hits the paint. Swirl marks appear, water spots catch your eye, and the shine you expected never shows up. It’s frustrating because you spent the time, but somehow the results still look average.
The truth is, most people don’t have a dirty car because they don’t care. They simply follow outdated habits that slowly dull the paint, wear down the interior, and make every wash feel like starting over.
The good news is that a few smart car detailing tips can completely change the way you care for your vehicle.
Whether you’re trying to protect a brand-new car or bring life back to an older one, the goal isn’t just a cleaner vehicle, it’s preserving its finish, comfort, and value for years.
This article focuses on practical techniques that actually make a difference, from safe washing methods to choosing the right detailing products and building a simple maintenance routine.
AI Overview: What Are the Best Car Detailing Tips?
Car detailing is a complete cleaning and protection process that goes beyond a standard car wash. The best results come from washing with the correct techniques, cleaning the interior thoroughly, removing bonded contaminants, and protecting paint with wax, sealants, or ceramic coatings. Regular maintenance also reduces long-term damage and keeps your vehicle looking newer with less effort.
Key Takeaways
- Wash your car using proper detailing techniques instead of household cleaning methods.
- Always clean wheels before washing the paint to prevent cross-contamination.
- Use microfiber towels and pH-balanced car shampoo to reduce swirl marks.
- Interior cleaning is just as important as exterior detailing for maintaining vehicle value.
- Wax, sealants, and ceramic coatings protect paint for different lengths of time.
- A maintenance routine saves time and prevents expensive restoration later.
What are the best car detailing tips?
The best car detailing tips include washing in the shade, using the two-bucket method, cleaning wheels first, drying with microfiber towels, removing bonded contaminants before polishing, and protecting the paint with wax, sealant, or ceramic coating. Regular maintenance keeps your vehicle cleaner and helps preserve its appearance over time.
What Is Car Detailing?
Car detailing is a complete process of cleaning, restoring, and protecting both the exterior and interior of a vehicle. Unlike a regular car wash, detailing removes embedded contaminants, improves surface condition, and adds protective layers that help maintain the vehicle’s appearance.
Modern detailing has changed significantly over the years. What once focused mainly on washing and waxing now includes foam pre-washes, chemical decontamination, clay treatments, synthetic sealants, and consumer ceramic coatings that offer longer-lasting protection.
Car Detailing vs. Car Washing
Many people use these terms interchangeably, but they’re not the same.
| Car Wash | Car Detailing |
| Removes surface dirt | Cleans, restores, and protects the vehicle |
| Usually takes 20–30 minutes | Can take 4–6 hours or more |
| Focuses on appearance | Focuses on appearance, protection, and longevity |
| Temporary results | Long-term maintenance |
According to the research, a complete DIY detailing session usually takes 4–6 hours, while paint correction can extend the process beyond 8 hours.
25+ Car Detailing Tips to Keep Your Vehicle Clean and Shiny
Exterior Detailing Tips
1. Always Wash Your Wheels First
Brake dust contains metal particles that can scratch your paint if transferred by your wash mitt. Professional detailers clean wheels and tires before touching the body of the car for this reason.
2. Never Wash Your Car in Direct Sunlight
Heat causes soap and water to dry too quickly, leaving behind streaks and stubborn water spots.
Instead, wash your vehicle early in the morning, late in the afternoon, or in a shaded area where the panels remain cool.
3. Start With a Foam Pre-Wash
One of the biggest mistakes beginners make is scrubbing dry dirt across the paint.
A foam pre-wash softens and lifts grime before you make contact with the surface, reducing the risk of swirl marks and fine scratches. Current detailing guides recommend letting the foam dwell for 2–3 minutes before rinsing.
4. Use the Two-Bucket Wash Method
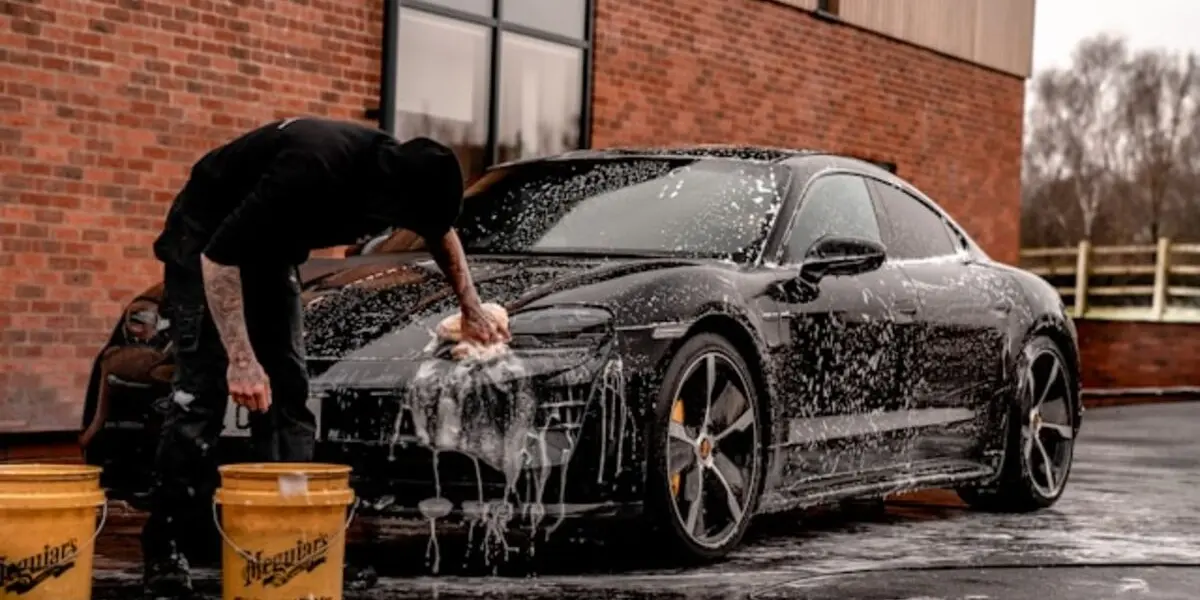
Professional detailers continue to recommend the two-bucket method because it’s simple and effective.
One bucket holds clean shampoo, while the other rinses dirt from your wash mitt before it goes back onto the paint. This keeps abrasive particles away from your vehicle’s finish and significantly reduces paint damage.
5. Wash From the Top Down
Gravity works in your favor.
The roof is usually the cleanest part of the vehicle, while lower panels collect mud, road salt, and heavier contamination. Washing from top to bottom prevents dragging that dirt over cleaner surfaces.
6. Use Microfiber Towels Instead of Old Cotton Cloths
Older towels trap dirt differently and can leave tiny scratches behind.
High-quality microfiber towels lift dirt away from the surface while absorbing more water, making drying safer and more effective. Consumer Reports also recommends microfiber drying to help prevent swirls and water spots.
7. Remove Bonded Contaminants Before Polishing
If your paint still feels rough after washing, regular shampoo isn’t enough.
Iron removers dissolve embedded metal particles, while a clay bar or clay mitt removes stubborn contaminants that washing can’t reach. Most detailers recommend claying 2–4 times per year, or whenever the paint no longer feels smooth.
8. Dry Your Car the Right Way
Drying is where many swirl marks begin.
Instead of dragging a towel across the paint, gently blot or glide a large microfiber drying towel over the surface. Some detailers also use air blowers to remove water from mirrors, trim, and tight gaps.
9. Protect Your Paint After Every Detail
Cleaning removes dirt, but protection keeps it from returning as quickly.
Depending on your goals, you can choose:
- Wax for a warm shine lasting 6–10 weeks
- Synthetic sealant for 3–6 months of protection
- Consumer ceramic coatings for 2-5+ years with proper preparation and maintenance
10. Clean Bird Droppings and Tree Sap Immediately
These contaminants are more than cosmetic.
Left on the paint for too long, they can etch into the clear coat and permanently damage the finish. Removing them quickly helps preserve your vehicle’s appearance and resale value.
Interior Cleaning Tips
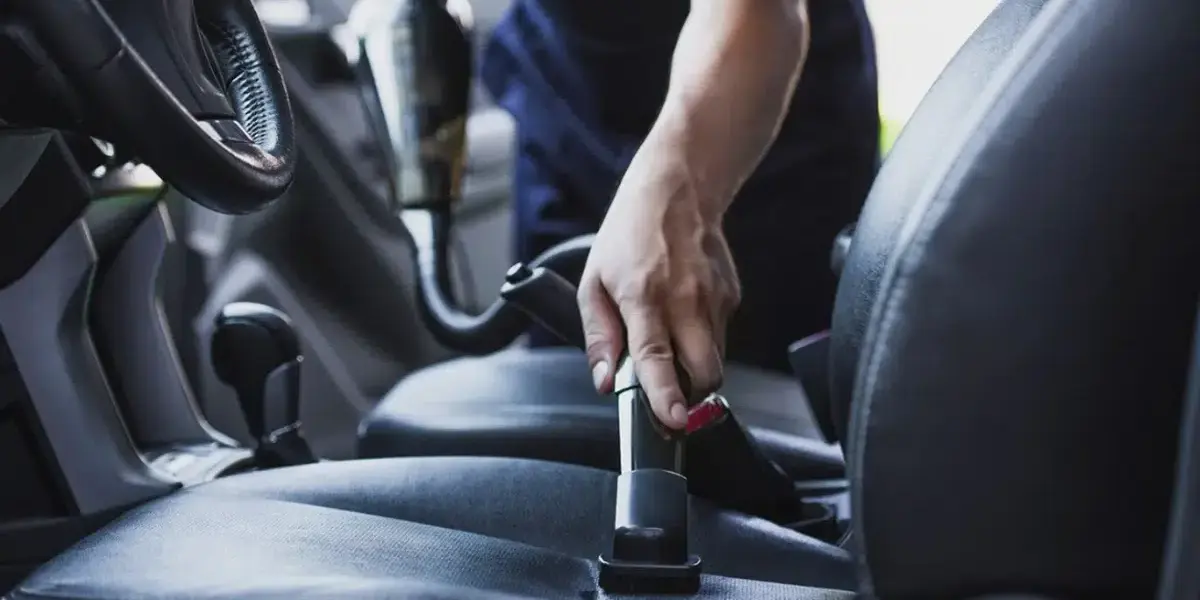
11. Vacuum Before You Use Any Cleaner
Loose dirt acts like sandpaper if you scrub it into carpets or seats.
Start by removing floor mats and thoroughly vacuuming seats, carpets, under the seats, and tight crevices. Once the dust is gone, your cleaners can work directly on stains instead of spreading dirt around.
12. Clean the Dashboard With the Right Products
Your dashboard spends hours under direct sunlight every day.
Use an interior cleaner designed for automotive plastics and a soft microfiber cloth. Small detailing brushes also help remove dust from air vents, buttons, and other hard-to-reach areas.
13. Treat Leather Seats Gently
Leather needs cleaning and conditioning, not harsh scrubbing.
Use a pH-balanced leather cleaner first, then apply a conditioner to keep the material soft and help prevent cracks as it ages.
14. Remove Stains Before They Set
Fresh stains are much easier to remove than old ones.
Spot-clean carpets and fabric seats as soon as possible. If stains are deep, shampoo or extract the fabric and allow it to dry completely before using the vehicle again.
15. Finish With Crystal-Clear Glass
Dirty glass affects both appearance and visibility.
Consumer Reports recommends using an ammonia-free glass cleaner because ammonia can damage window tint. Wipe with a clean microfiber towel using straight-line motions for a streak-free finish.
Detailing Products and Tool Tips
16. Buy Quality Microfiber Towels First
If you only upgrade one detailing product, make it your towels.
Quality microfiber towels safely lift dirt, absorb more water, and greatly reduce the chance of scratching your paint compared with old cotton cloths.
17. Never Use Dish Soap on Your Car
Dish soap removes grease and your paint protection.
It strips wax and sealants, leaving your paint exposed to UV rays, water spots, and contaminants. Always choose a pH-balanced automotive shampoo instead.
18. Use Dedicated Brushes for Different Areas
The brush you use on wheels should never touch your paint.
Brake dust and road grit are highly abrasive. Keeping separate brushes for wheels, tires, interior surfaces, and paint helps prevent accidental scratches.
19. Don’t Buy Every Trending Product
More products don’t automatically mean better results.
Start with the essentials:
- Car shampoo
- Microfiber towels
- Interior cleaner
- Wheel cleaner
- Tire brush
- Glass cleaner
- Wax or sealant
Master these before investing in polishers, foam cannons, or ceramic coating kits.
Paint Protection Tips
20. Wax Your Car Regularly
Wax creates a protective barrier that enhances shine while shielding paint from contaminants.
Most quality waxes last around 6–10 weeks, making them a good option if you enjoy regular maintenance.
21. Upgrade to a Paint Sealant for Longer Protection
If you don’t want to wax every couple of months, a synthetic sealant is a smarter choice.
Most sealants protect paint for 3–6 months, making them ideal for daily-driven vehicles.
22. Consider Ceramic Coating for Long-Term Protection
Ceramic coatings don’t make your car scratch-proof, but they do make maintenance easier.
With proper preparation, many consumer ceramic coatings can last 2–5 years or longer while improving water beading and gloss.
Maintenance Tips
23. Wash Your Car on a Regular Schedule
Waiting until your car looks dirty usually means contaminants have already been sitting on the paint for too long.
A wash every two weeks works well in normal conditions, while vehicles exposed to winter salt or harsh weather should be washed weekly.
24. Clay Your Paint When It Feels Rough
After washing, gently run your fingertips across the paint.
If it feels rough instead of smooth, it’s time for a clay bar or clay mitt to remove bonded contaminants. Most professionals recommend claying 2–4 times each year, depending on driving conditions.
25. Follow the Correct Detailing Order Every Time
The sequence matters just as much as the products.
Professional workflows recommend:
- Wheels
- Pre-wash and foam
- Two-bucket wash
- Iron remover
- Clay bar
- Dry
- Polish (if needed)
- Wax, sealant, or ceramic coating
- Tires and trim
- Glass last
Following this order prevents re-contaminating clean surfaces and produces more consistent results.
27. Focus on Maintenance Instead of Major Restoration
One of the biggest trends in 2026 is a maintenance-first approach.
Instead of waiting until the paint is heavily contaminated, regular washing, decontamination, and protection help preserve your vehicle’s finish and reduce the need for costly correction work later.
Quick Checklist: All 27 Car Detailing Tips
Exterior
- Wash wheels first.
- Avoid direct sunlight.
- Use a foam pre-wash.
- Follow the two-bucket method.
- Wash from top to bottom.
- Use microfiber towels.
- Remove bonded contaminants.
- Dry correctly.
- Protect paint after washing.
- Clean bird droppings immediately.
Interior
- Vacuum first.
- Clean the dashboard properly.
- Care for leather seats.
- Remove stains quickly.
- Finish with ammonia-free glass cleaner.
Products & Tools
- Buy quality microfiber towels.
- Never use dish soap.
- Use dedicated brushes.
- Start with essential detailing products.
Paint Protection
- Wax regularly.
- Apply a synthetic sealant.
- Consider ceramic coating.
- Remove tree sap and bird droppings promptly.
Maintenance
- Wash every two weeks (or weekly in harsh conditions).
- Clay rough paint when needed.
- Follow the correct detailing order.
- Prioritize ongoing maintenance over major restoration.
These 27 practical car detailing tips fulfill the title’s promise while covering exterior detailing, interior cleaning, detailing products, and DIY car detailing without repeating the same advice. The next part should cover the decision-making sections: DIY vs. professional detailing, worthwhile products, common mistakes, practical implementation, conclusion, and FAQs.
DIY Car Detailing Guide: What Beginners Need to Know
You don’t need a professional garage or thousands of dollars in equipment to achieve impressive results. With the right detailing guide, a few quality detailing products, and consistent habits, DIY car detailing can keep your vehicle looking its best.
Essential DIY Car Detailing Products
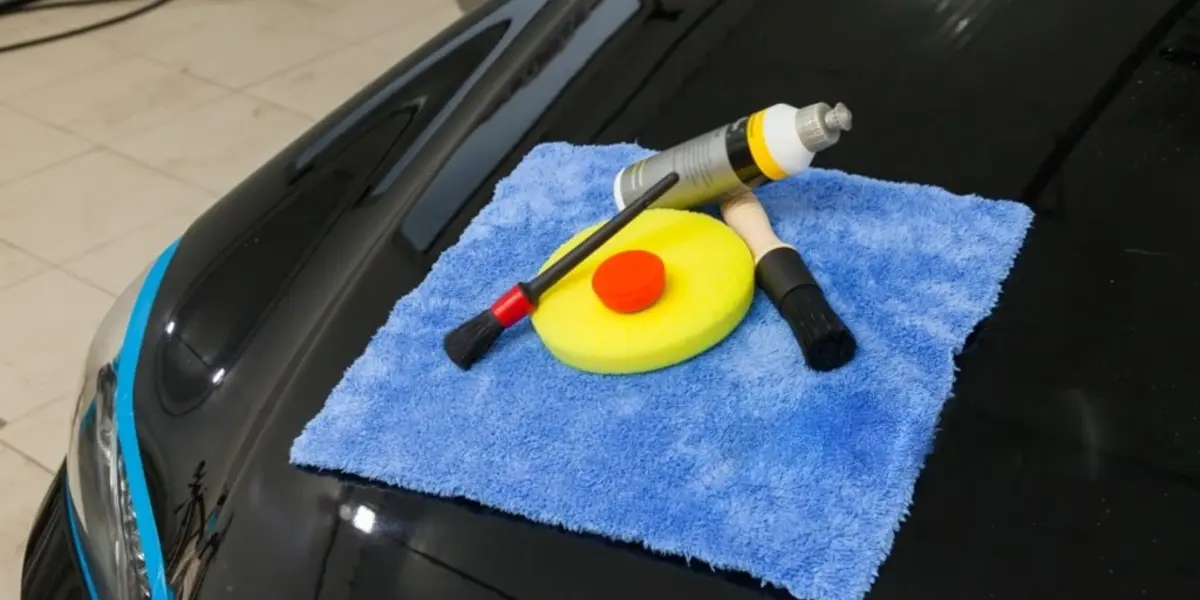
Before buying expensive machines, build a simple kit with the essentials:
| Product | Purpose |
| pH-balanced car shampoo | Safely removes dirt without stripping protection |
| Microfiber wash mitt | Reduces swirl marks while washing |
| Microfiber drying towel | Dries paint without scratching |
| Wheel cleaner | Removes brake dust safely |
| Interior cleaner | Cleans dashboard, doors, and trim |
| Glass cleaner | Leaves streak-free windows |
| Tire brush | Cleans tire sidewalls |
| Wax or paint sealant | Protects paint and enhances shine |
These basic tools are enough for most car owners to maintain their vehicles regularly.
Products Beginners Should Skip
Many new detailers waste money on products they don’t need.
You can safely wait before buying:
- Machine polishers
- Paint thickness gauges
- Professional ceramic coating kits
- Steam cleaners
- Large collections of specialty chemicals
Learning proper washing and drying techniques will improve your results far more than buying expensive equipment.
DIY Car Detailing vs Professional Detailing
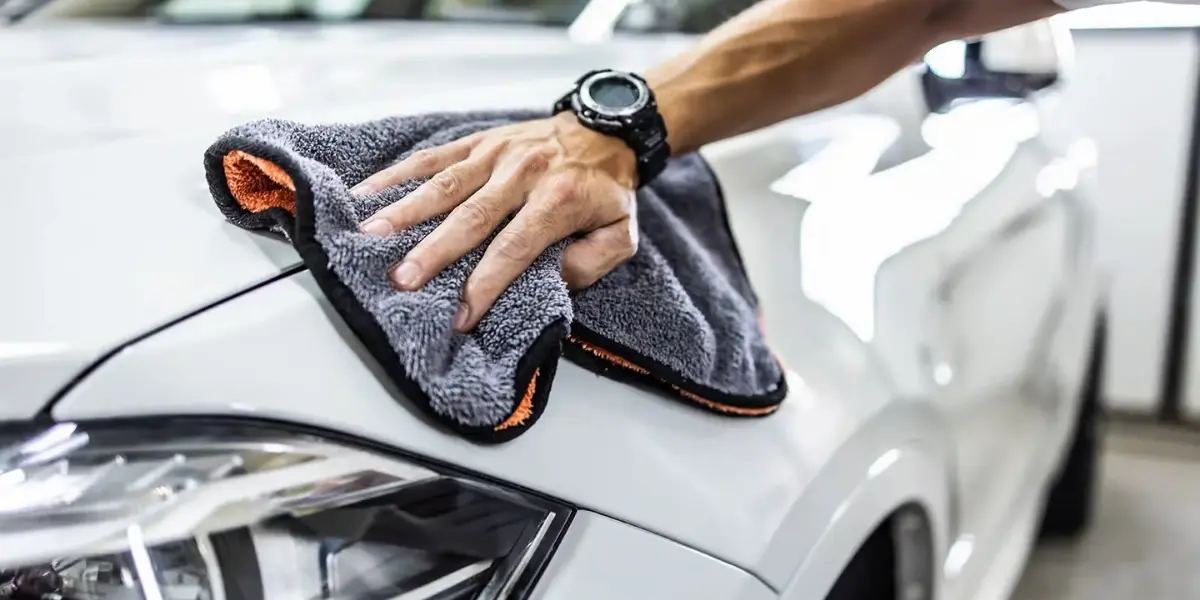
Not every vehicle needs professional detailing. The right choice depends on your budget, time, and your car’s condition.
| Factor | DIY Car Detailing | Professional Detailing |
| Cost | Low | Higher |
| Time | 3–6 hours | No hands-on time required |
| Equipment | Basic tools | Commercial-grade equipment |
| Best For | Routine maintenance | Paint correction and restoration |
| Skill Level | Beginner-friendly | Performed by trained detailers |
Choose DIY Car Detailing If:
- Your paint is in good condition.
- You enjoy maintaining your vehicle.
- You want to save money.
- You only need regular cleaning and protection.
Choose Professional Detailing If:
- Your paint has heavy swirl marks.
- The vehicle hasn’t been detailed for years.
- You want paint correction.
- You’re applying a long-term ceramic coating.
For many owners, the best approach is combining both, maintain the car yourself and schedule professional detailing when deeper restoration is needed.
Common Car Detailing Mistakes That Damage Your Vehicle
Many paint defects aren’t caused by driving, they happen during cleaning.
Avoid these common mistakes.
Using Household Cleaners
Dish soap, kitchen degreasers, and glass cleaners with ammonia can damage protective coatings, dry out trim, and shorten the life of wax or sealants. Always use products designed for automotive surfaces.
Washing With Dirty Towels
A towel filled with grit can scratch every panel it touches.
Wash microfiber towels separately, avoid fabric softeners, and replace them when they become worn.
Skipping Paint Protection
Cleaning without applying wax, sealant, or ceramic coating leaves paint exposed to UV rays, road grime, and environmental contaminants.
Protection is what keeps your hard work lasting longer.
Cleaning in the Wrong Order
Always follow this sequence:
- Wheels
- Pre-rinse
- Foam wash
- Two-bucket wash
- Decontamination
- Drying
- Protection
Changing the order often means cleaning the same areas twice or transferring dirt onto freshly cleaned paint.
Ignoring the Interior
A spotless exterior doesn’t compensate for dusty vents, stained seats, or unpleasant odors.
Regular interior cleaning helps maintain comfort and preserves your vehicle’s resale value.
Expert Tips That Make the Biggest Difference
Professional detailers often agree that technique matters more than expensive products.
A few habits can dramatically improve your results:
- Replace wash water when it becomes dirty.
- Fold microfiber towels into multiple clean sides.
- Work one panel at a time.
- Inspect paint in good lighting before applying protection.
- Use separate towels for paint, wheels, and interior surfaces.
- Clean detailing tools after every session.
- Store products away from direct sunlight and extreme heat.
These simple practices reduce mistakes and help every detailing session produce better results.
Practical Car Detailing Maintenance Schedule
Consistency is easier, and cheaper, than restoring neglected paint.
| Time | What to Do |
| Every Week | Remove trash, wipe interior surfaces, inspect bird droppings, clean glass if needed |
| Every 2 Weeks | Wash exterior using proper detailing techniques |
| Every Month | Clean wheels thoroughly, vacuum interior, apply tire dressing |
| Every 3–6 Months | Perform a full detail, clay the paint if needed, refresh wax or sealant |
| Once a Year | Deep interior cleaning and inspect paint protection |
Following this routine keeps your vehicle cleaner with less effort over time.
Conclusion
Remember that Saturday morning when you expected your car to sparkle but instead noticed swirl marks and water spots? The problem was never the amount of effort, it was the method.
The good news is that great detailing doesn’t require a professional shop. It comes from following the right process every time. Washing safely, choosing quality detailing products, protecting the paint, and maintaining a simple routine will do more for your vehicle than buying the most expensive tools.
Whether you’re just starting with DIY car detailing or refining your skills, these 27 car detailing tips will help keep your vehicle cleaner, shinier, and better protected throughout the year.
Small improvements made consistently will always outperform one big cleaning session once in a while.
Frequently Asked Questions
How often should you detail your car?
A full detail every 3–6 months is ideal for most vehicles, while regular washing every two weeks helps maintain the finish. Cars exposed to harsh weather or road salt may need more frequent cleaning.
Can I do car detailing at home?
Yes. With a few essential tools, quality detailing products, and proper techniques, most owners can achieve professional-looking results at home.
What products do I need for DIY car detailing?
Start with a pH-balanced car shampoo, microfiber towels, wheel cleaner, interior cleaner, glass cleaner, tire brush, and a quality wax or paint sealant.
What’s the difference between a car wash and car detailing?
A car wash removes surface dirt, while car detailing includes deep cleaning, restoration, and protection for both the interior and exterior.
Is ceramic coating better than wax?
Ceramic coating generally lasts much longer and offers better protection, while wax is more affordable and easier for beginners to apply. The best choice depends on your budget, maintenance routine, and desired level of protection.